


The Guide to Skylight Installation
Introduction
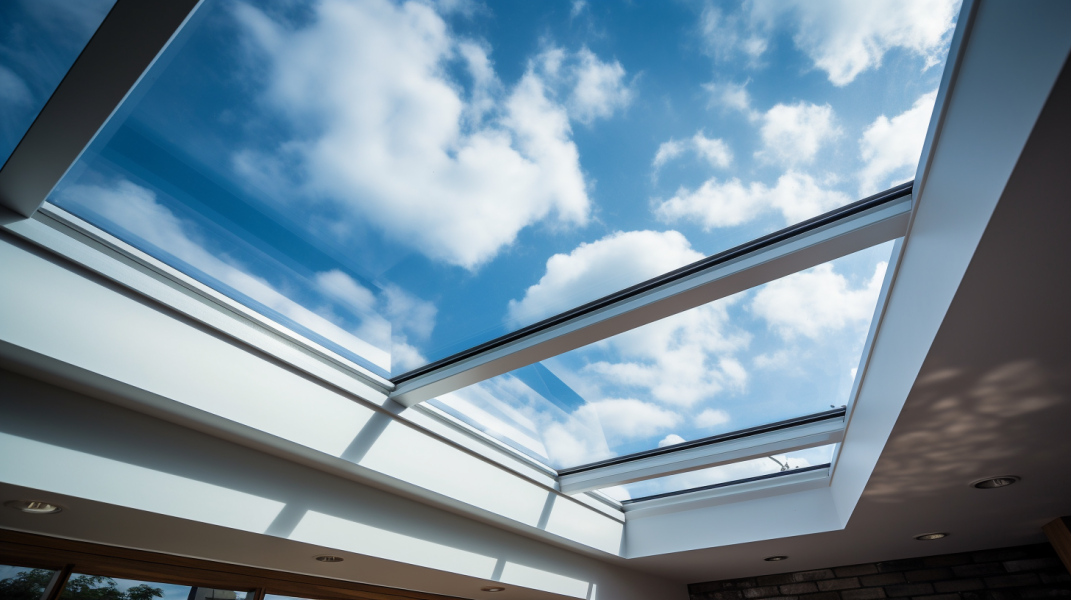
Transforming your living space with natural light has never been easier with the installation of a skylight. Not only does it enhance the aesthetic appeal of your home, but it also contributes to energy efficiency. In this guide, we will walk you through a step-by-step process on how to install a skylight, ensuring a seamless and successful project.
Choosing the Right Skylight
Before diving into the installation process, it's crucial to select the appropriate skylight that suits your needs and preferences. Consider the size, shape, and type of skylight, as well as the material of the glazing. Additionally, take into account the direction your roof faces to optimize natural light exposure.
Pre-Installation Preparations
Tools and Materials
Ensure you have all the necessary tools and materials on hand. This includes a circular saw, roofing nails, a hammer, a level, a tape measure, and the skylight unit itself. Don't forget the flashing kit, which is essential for a watertight installation.
Safety Precautions
Safety should be your top priority. Wear protective gear such as gloves, safety glasses, and a hard hat. If you're not comfortable working on the roof, we recommend seeking professional help from a reputable roofing contractor in Chicopee.
Installation Process
Step 1: Locating and Cutting the Opening
Identify the location for your skylight on the interior ceiling and transfer these measurements to the roof. Use a circular saw to cut through the roofing material and create the opening. Ensure the cut is straight and precise to avoid any complications during the installation.
Step 2: Attaching the Skylight
Place the skylight unit into the opening and secure it in place with roofing nails. Make sure the unit is level and properly aligned to ensure optimal performance.
Step 3: Installing the Flashing
The flashing is a critical component that prevents water infiltration. Follow the manufacturer's instructions carefully and install the flashing around the skylight. Ensure all seams are sealed and watertight.
Step 4: Replacing the Roofing Material
Once the flashing is in place, replace the roofing material around the skylight. Cut the material to fit as needed and secure it with roofing nails.
Post-Installation Tips
Inspecting the Installation
After completing the installation, conduct a thorough inspection to ensure everything is secure and watertight. Pay close attention to the flashing and seams, as these are common areas for potential leaks.
Maintenance and Care
Regular maintenance is key to prolonging the lifespan of your skylight. Clean the glass periodically to remove dirt and debris, and inspect the flashing and seals for any signs of wear and tear.
Conclusion
Installing a skylight is a rewarding project that enhances the natural light in your home and contributes to its overall value. By following these detailed steps and taking the necessary precautions, you can ensure a successful installation. If you're in need of professional assistance, don't hesitate to reach out to
Nova Home Improvements, a trusted roofing contractor in Chicopee.